





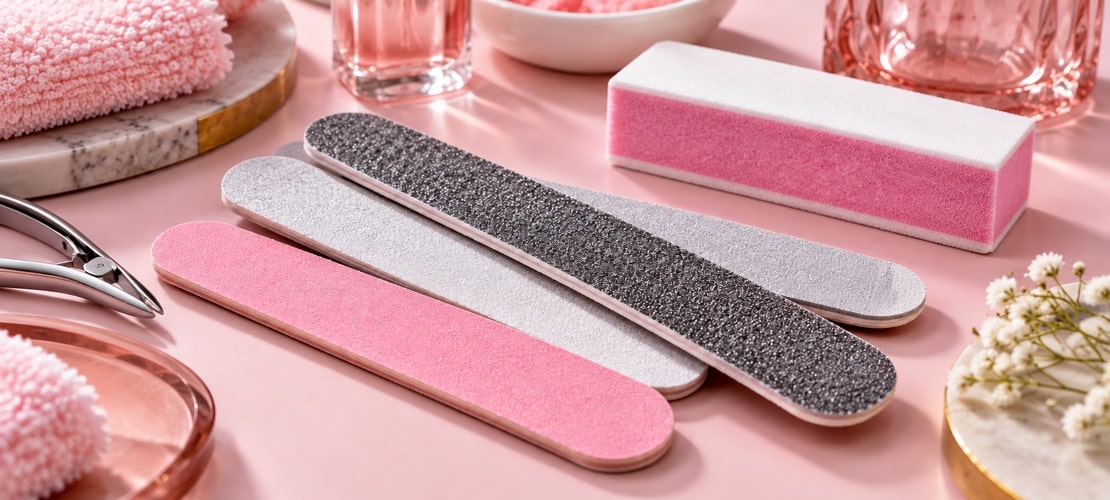
Picking a nail file can feel surprisingly confusing. Two files might look almost identical, yet one gently shapes an edge while the other removes product much more quickly.
The difference is often the grit.
The lower the grit number, the coarser the abrasive. The higher the number, the finer it is. But choosing well also means considering what you’re filing: a natural nail, an enhancement or a surface that needs refining.
What do the numbers on a nail file mean?
Numbers such as 180 and 240 describe the file’s abrasive grade. A file marked 180/240 has a different grade on each side.
That gives you two options in one tool—but it doesn’t mean both sides are suitable for every task. Think of grit as a starting point. The file’s construction, the nail’s condition and the manufacturer’s instructions also matter.
A quick guide to choosing your file
| Your task | What to look for |
|---|---|
| Shaping a natural nail’s free edge | A fine file intended for natural nails; 240 grit is a common example |
| Shaping or refining enhancements | A file approved for the enhancement system and the stage of the service |
| Preparing the nail surface | The exact file or buffer specified by your product system |
| Creating a smooth or polished finish | A finishing buffer designed for that purpose |
For example, OPI identifies its 240-grit file as suitable for natural nails, while its 180-grit file is intended for shaping and refining enhancements. These are product-specific examples, rather than a universal rule for every file.
Before you file, ask these three questions
1. Am I working on natural nail or product?
An acrylic or gel enhancement is a different surface from the natural nail underneath it. A file selected to shape an enhancement should not automatically become your natural-nail preparation tool. Identify the surface first, then choose the tool.
2. What am I trying to achieve?
Shortening an edge, refining a shape and preparing a nail plate are separate jobs. If you are shaping the free edge, keep your work focused there. Don’t continue onto the nail surface simply because you already have the file in your hand.
3. What does my product system require?
Follow the preparation and removal instructions for the system you are using. Advice that suits one product may not suit another. If instructions are unclear, check with the manufacturer or your tutor before proceeding.
Three mistakes beginners can avoid
Choosing by colour or shape alone. A pink file is not necessarily gentler than a black one. Read the grit marking and its intended use.
Using pressure to make the file work faster. Start with light, controlled movements and inspect your progress frequently. If the file seems ineffective, reassess the tool and technique before increasing pressure.
Treating a fine buffer as permission to keep buffing. A finer abrasive still removes material. Work towards a defined result instead of repeatedly going over the same area.
Try this during your next practice session
Before beginning, lay out your files and identify:
- The grit on each side.
- The task each file is intended for.
- Which surface you will use it on.
- The point at which you should stop and check your work.
Practise enhancement shaping on a suitable training tip, following your course instructions. Concentrate on control and consistency before speed. This small preparation habit helps you make deliberate choices instead of reaching for whichever file is closest.
Your nail file questions answered
Is 180 or 240 grit finer?
240 grit is finer than 180 grit. Suitability still depends on the particular file and the task.
What does 100/180 mean?
It means one side is 100 grit and the other is 180 grit. The 100-grit side is coarser. Check the manufacturer’s guidance before using either side.
Can I use the same file for every stage?
Only where its manufacturer and your product system specify that it is suitable. Different stages may require different tools.
Build confidence in the basics
Good nail work begins with understanding why you are choosing a particular tool. When comparing training options, look for clear teaching on file selection, preparation and controlled technique—not just the finished design. Our guide to choosing an online nail course explains what to consider before enrolling.