





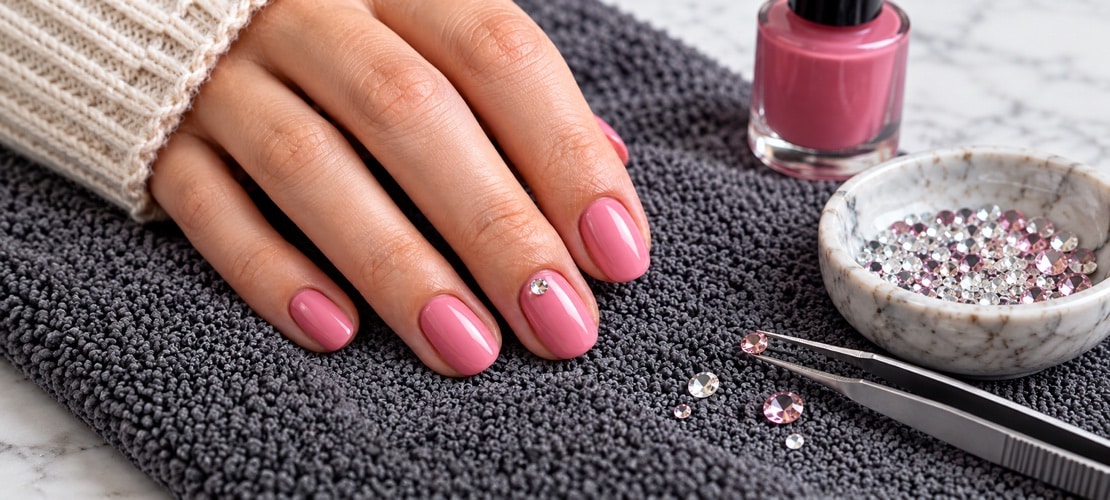
A single gem can change the feel of a manicure. On a soft pink base it creates a subtle focal point; against a deeper colour it can become the centre of the design.
This guide develops the original Next Step Beauty lesson on adding a gem to gel polish. Start with one small embellishment on a practice tip so you can concentrate on placement and a tidy finish.
Start with the design
Before opening your products, decide where the gem will sit. Hold it over a dry practice tip to compare positions. Leave a clear margin around the edges and avoid placing it where it would touch the surrounding skin on a real nail.
A useful first exercise is to make three versions of the same design: a centred gem, a slightly offset gem and a small arrangement on an accent nail. Photograph them from above and from the side. You are looking for balance as well as sparkle.
What belongs on your desk?
- Practice tips and a stable holder.
- Your chosen gel colour, base and finish products.
- The lamp specified for that gel system.
- Small nail-art gems and a suitable picking tool.
- An attachment product approved for those embellishments and your system.
- The preparation, application and removal instructions.
Do not assume ordinary top coat is a suitable adhesive for every gem. The attachment method depends on the product and embellishment. Check whether the supplier calls for a dedicated adhesive, a gel designed for gems or another specified method.
Build the manicure in stages
Stage 1: Create a neat colour base
Prepare your practice tip as your course instructs. Apply the base and colour in the recommended sequence, keeping the layers controlled and curing as directed. A gem will draw attention to the area around it, so get the colour application right before adding detail.
Stage 2: Follow the attachment instructions
Check whether the gem is applied before or after the finishing layer for your chosen system. Use the specified quantity of attachment product and keep it confined to the intended area.
Do not invent a universal curing time. Some attachment products need a lamp and others do not. An opaque embellishment may obstruct light reaching material beneath it, so the supplier’s approved method matters.
Stage 3: Place deliberately
Use your picking tool to position the gem. View it from the front and both sides before completing the attachment process. Aim for a clean outline without a bulky pool of product around the base.
Stage 4: Finish according to the system
Follow the supplier’s instructions for sealing around or coating the embellishment. Covering a faceted gem can alter its appearance, but leaving the attachment unfinished may also be inappropriate: the correct finish is product-specific.
A final inspection before you call it finished
Check the position, the edge and the profile.
Is the gem where you intended? Is the surrounding finish clean? Does it sit neatly when viewed from the side? On a client, also check comfort and follow your training for confirming secure attachment.
If something goes wrong
The gem moves: revisit the attachment method and product quantity. Adding more material at random can create a bulky finish without solving the cause.
The sparkle looks dull: check for product on the facets and review the finishing instructions.
The design catches: reassess the gem’s size, placement and finish. Do not dismiss snagging as an unavoidable part of nail art.
The surrounding gel looks untidy: practise the colour application separately before combining both skills.
Keep technique and safety together
Avoid skin contact with uncured gel and adhesives. The British Association of Dermatologists highlights the allergy risks associated with uncured nail products. Use the correct system and seek professional advice if irritation develops.
For removal, follow the instructions for both the manicure and the attachment product. Never pick or lever a gem off the natural nail.
If curing is still unfamiliar, read our guide to UV and LED nail lamps. For a broader training starting point, explore what to look for in an online nail course.