





5 min read
On this page
Good nail course case-study photos show your work clearly, at the stages your assessment asks for. Use a clean camera lens, even light and a plain background; keep the nails in focus and your student ID clearly visible as required. Check each picture before moving on, so you do not discover a missing stage after finishing the treatment.
You do not need to turn an assessment into a styled photoshoot. The aim is to give your tutor useful evidence of your practical work. This guide helps you organise that evidence for an online nail course, alongside the specific instructions in your Next Step Beauty training portal.
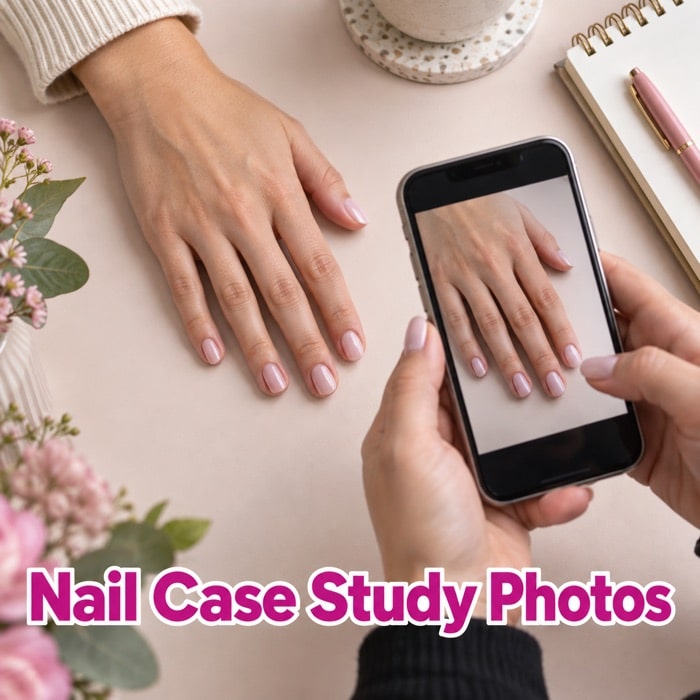
Illustrative image, not a student submission. Follow your course brief for the required views and student identification.
Start with the assessment brief, before the camera
A case study is a record of practical work submitted for assessment. At Next Step Beauty, you complete the theory modules and knowledge assessments within your course before submitting practical case studies. The evidence normally includes photographs before and after the treatment, plus photographs of individual stages.
Read the requirements for the particular treatment before starting. Write down the stages and views requested, then keep that list beside your workspace. A finished-set photograph cannot show a preparation stage you have already completed.
For NSB nail case studies, five nails on one hand are enough for one full case-study set. This also applies when using the accepted practice-hand option. It does not mean that five nails complete the whole course: you still need the number of case studies and all the evidence specified for your assessment.
A simple photo plan: before, during and after
Use this planning table to organise your session. It is a preparation aid, not a replacement for your course’s required photo list.
| When | What to check |
|---|---|
| Before you begin | Read the brief, prepare your student identification and take the requested starting photographs. |
| At each required stage | Pause safely, take the specified views and check that the relevant detail is visible before continuing. |
| After the treatment | Capture the finished work as directed. Compare the saved images with your photo list before ending the session. |
Make the work easy to see
Use even light and a quiet background
A plain, uncluttered surface helps keep attention on the nails. Try soft daylight or an evenly lit workspace, and check for shadows from your phone or hands. If a bright reflection hides part of a nail, adjust the camera or lighting and take another photograph.
Keep lighting and background reasonably consistent across the set. Avoid filters, beauty modes or retouching that change the appearance of your work. The photographs should show what you actually completed.
Check focus, framing and identification
Clean the lens, hold the camera steady and focus on the nails rather than the background. Move back slightly if a close-up looks blurred. Open the saved picture and enlarge it to check the detail instead of relying only on the small camera preview.
Include the area requested by the assessment without cutting off relevant nails or edges. Keep your student ID clearly visible in the photographs as instructed. If it is not clear, Victoria may ask for the photos to be repeated. Avoid including unrelated personal paperwork in the background.
Check these four problems before uploading
- The picture is sharp, but an important area is hidden.
-
A decorative pose or camera angle can conceal detail. Follow the views requested in your course rather than copying a social-media pose.
- You have several finished pictures but no stage evidence.
-
Compare the set with the brief before you begin and throughout the treatment. More final photographs do not replace a missing required stage.
- The photograph belongs to another case study.
-
Keep each treatment and case study in its own clearly named folder. Check the actual image when selecting it, not just its position in your phone’s camera roll.
- The file uploaded, but you have not checked the result.
-
Open the uploaded image in the portal and confirm that it is the intended photograph. Uploading evidence and submitting a workbook are separate steps; follow the portal instructions to complete submission.
What if you make a mistake or receive feedback?
If you upload the wrong image, you can replace it through the student portal. Follow the controls shown there rather than adding unrelated photos to compensate. For other case-study queries, submit your case studies and wait for Victoria to contact you with assessment guidance.
A referred assessment gives you an opportunity to improve the evidence or technique identified by your tutor. Read the feedback carefully, practise where needed and follow the instructions for resubmission. NSB includes unlimited practical resubmissions in the original course price. Clear photography helps communicate your work, but it does not guarantee a pass.
Build confidence through practical learning
Organising your evidence is one part of learning a treatment. The demonstrations, practice and tutor feedback are what help you develop your skills. You can revisit your enrolled NSB course through lifetime access, with no completion deadline.
If you are still deciding where to start, explore the Complete Nail Technician Course for a foundation across five nail treatments, or use our beginner’s guide to choosing an online nail course. For delivery, support and assessment questions, see the Next Step Beauty FAQs.