


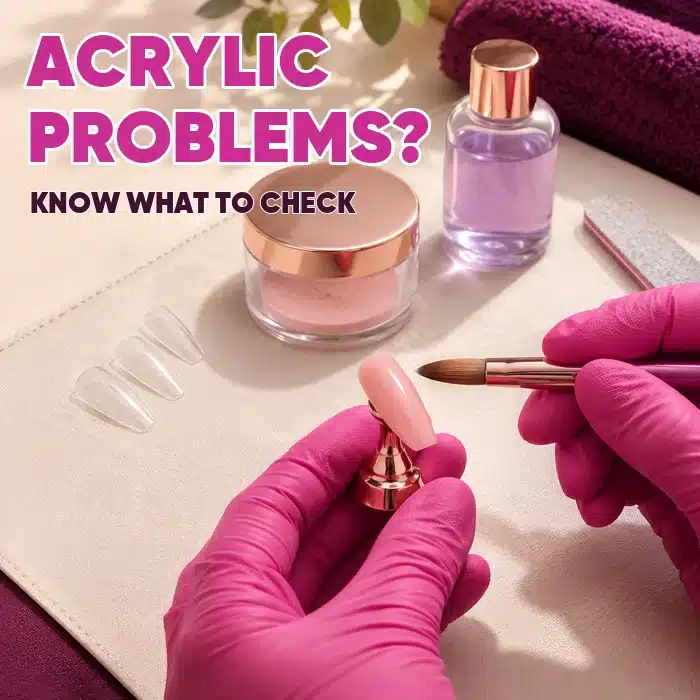
The acrylic nail problems beginners face often point back to preparation, liquid-to-powder ratio or product placement. Lifting, bubbles, an uneven shape and cracks need different checks. Start by identifying what happened and when, then practise one change using your course demonstration and the instructions for your particular acrylic system.
A difficult practice set does not tell you that you cannot learn acrylic. It gives you something specific to work on. This guide helps you organise that troubleshooting; it cannot diagnose a damaged natural nail or replace practical training.
Acrylic nail problems beginners can check first
Before changing products or repeating a whole set, write down three things: what you can see, when it appeared and which stage you found difficult. A photograph taken before colour goes on is often more useful than trying to describe the finished result from memory.
- Product separating at an edge: review preparation and placement.
- Tiny bubbles within the acrylic: review bead consistency and brush preparation.
- A bulky or uneven profile: review bead size and where you place the product.
- Cracks or repeated breaks: review the system, tip fit, length and structure with your tutor.
These are starting points, not a diagnosis from appearance alone. The CTPA’s artificial nail guidance explains that acrylic liquid and powder should be formulated to work together. Use a matched system and its instructions; there is no single mix ratio to copy across every brand.
1. Lifting around the cuticle or sidewalls
Lifting means the enhancement is separating from the natural nail. In its acrylic troubleshooting guidance, ASP UK identifies causes including product touching soft tissue, excess thickness at the edges, inadequate cuticle preparation and an overly wet mix.
Review your preparation demonstration from the beginning. Check the nail plate, the sidewalls and the point where you first placed the bead. Did you keep the product clear of skin, or did it move into the surrounding fold before you could control it? Do not respond by filing the natural nail harder or adding extra primer without checking the system’s directions.
For your next practice: make edge control the focus. Use a practice tip or accepted training hand to rehearse placement, then compare the result with the demonstration. This can help you practise handling, although an artificial tip cannot test preparation or adhesion on a natural nail.
If an enhancement is already lifting on a person, ask your tutor or a suitably trained technician to assess the appropriate maintenance or removal. Do not pick it off or simply cover the separation with more product.
2. Bubbles and a grainy-looking finish
Small voids within the acrylic are different from a gap underneath a lifted enhancement. ASP’s guidance links bubbles to a dry mix, air held in the brush and the way the bead is allowed to settle and worked. That makes your product’s application instructions the useful starting point.
Practise bead control separately from building a full nail. Following the manufacturer’s method, watch how a bead behaves after pickup: record whether it spreads before you can place it, appears grainy or is difficult to move. Compare this with the demonstration for that system rather than an unrelated social-media clip.
For your next practice: keep the same matched products and change only the handling point you are investigating. Note the brush preparation, bead size and room conditions. If you change the brush, powder and liquid together, it becomes harder to tell what made a difference.
3. A thick or uneven apex
The apex is the highest part of the enhancement’s profile. Your course demonstration should show how the structure relates to the nail’s shape and length. A view from above alone can hide an uneven profile, so inspect a practice nail from the side and from the free edge as well.
If the result is bulky, look back at the application before reaching for the file. Were the beads larger than you could control? Did you keep adding product to correct the same area? Were you trying to finish after the product had become difficult to work?
For your next practice: photograph the nail before and after finishing. Compare the bead placement and outline with the course example, then ask your tutor which part needs attention. Avoid copying a fixed apex position or thickness from a different nail shape. The aim is to understand placement, not simply make everything thinner.
4. Cracks and breaks
A break does not automatically mean you need a stronger powder. ASP lists incorrect ratio, air beneath an attached tip and excessive length among the possible causes of easy breakage. Record where the crack appeared and whether it followed an impact or developed during ordinary wear.
Ask your tutor to review the tip fit and the finished profile alongside your application notes. Repeatedly adding thickness without understanding the cause can leave the original problem unresolved.
For your next practice: follow the length and shape shown in your training while you work on consistency. Recheck the maintenance and aftercare instructions too. Our gel and acrylic extensions comparison explains the differences between the systems and their aftercare.
When to stop troubleshooting and seek help
Pain, irritation or changes to the natural nail need a different response from an untidy practice tip. Do not apply an enhancement over an unhealthy or damaged nail. Avoid uncured product touching skin; the CTPA guidance explains the associated allergy risk.
The NHS recommends seeing a GP for unexplained nail changes, or when the surrounding skin becomes sore, red, swollen and warm. A tutor can assess application evidence, but a photograph of a nail is not a medical diagnosis.
Keep your workspace controls in place during practice as well. Our guide to acrylic vapour, dust and safer working explains the HSE advice on ventilation and extraction.
Make tutor feedback easier to act on
Prepare a short record containing the exact liquid and powder, the stage you struggled with, when the problem appeared and what you have already tried. Follow your assessment’s photo requirements. Clear top, side and free-edge views can help you discuss shape; keep the evidence unfiltered and do not hide the problem under colour.
Submit NSB case studies through the training portal and use the feedback returned there. Choose one point to practise next, then compare the new attempt with your earlier work. Our case-study photography guide helps you prepare clear evidence without changing what the work shows.
Beginner acrylic questions
Why do my acrylics lift at the cuticle?
Review preparation, the bead’s movement and whether product touched the surrounding skin. Several faults can look similar, so share clear evidence with your tutor instead of assuming that more filing or primer will solve it.
How many practice sets does it take to get acrylic right?
There is no reliable number that guarantees competence. Completing a set and correcting a specific weakness are different goals. Use your assessment criteria and tutor feedback to judge progress, and allow time to practise the points raised.
Can I start an acrylic course without nail experience?
Yes. NSB’s Acrylic Nail Course is open to beginners and covers preparation, tip application, acrylic application, maintenance, removal and aftercare. You study online, submit practical case studies and receive tutor feedback, with unlimited resubmissions included. Kits are optional and purchased separately.
Explore the course to see what you will learn, or email [email protected] if you need help choosing your starting point.
The practice-workstation images are AI-generated illustrations, not photographs of NSB student work or a supplied kit.
